Hidden Water Damage Behind Kitchen Cabinets and How to Fix It
Tearing out an old kitchen layout often reveals problems that homeowners never expected to find. The team at Rockland Renovations has pulled out countless lower cabinets over the years only to discover rotting wood and ruined drywall hidden right out of sight. Small plumbing drips from old supply lines can go unnoticed for a very long time, leading to significant structural decay before anyone even sees a puddle on the floor.
Dealing with water damage behind kitchen cabinets requires a methodical approach to ensure the framing is actually dry before new materials go in. When we start kitchen renovations in older Midhurst homes, our priority is identifying the exact source of the moisture so the new cabinetry sits against a solid and safe wall. Ignoring these early signs guarantees that your new kitchen will suffer the exact same fate down the road.
What We Cover:
- Spotting the Early Warning Signs of Moisture
- Fixing the Source of the Leak First
- Why Taping Over Bad Drywall Always Fails
- Securing the Wall for Your New Kitchen
Spotting the Early Warning Signs of Moisture
Most slow leaks behind base cabinets give off subtle clues before the damage becomes structural. You might notice a persistent musty smell when you open the doors beneath your sink or see the baseboard trim starting to swell and pull away from the wall. Warped cabinet bases and peeling finish on the bottom shelves are clear indicators that moisture is traveling up through the wood.
How do you check for water damage behind kitchen cabinets?
The easiest way to check for hidden moisture is by emptying the lower cabinets completely and pressing firmly on the back panel and bottom shelf. If the wood feels spongy or gives way under light pressure, water has likely compromised the material. You can also use a small flashlight to inspect the drywall around the plumbing escutcheon plates, looking for dark stains, bubbling paint, or black spots that indicate early mold growth.
From a professional standpoint:
→ The damage you see on the inside of the cabinet is usually just a fraction of the decay happening against the actual wall.
Fixing the Source of the Leak First
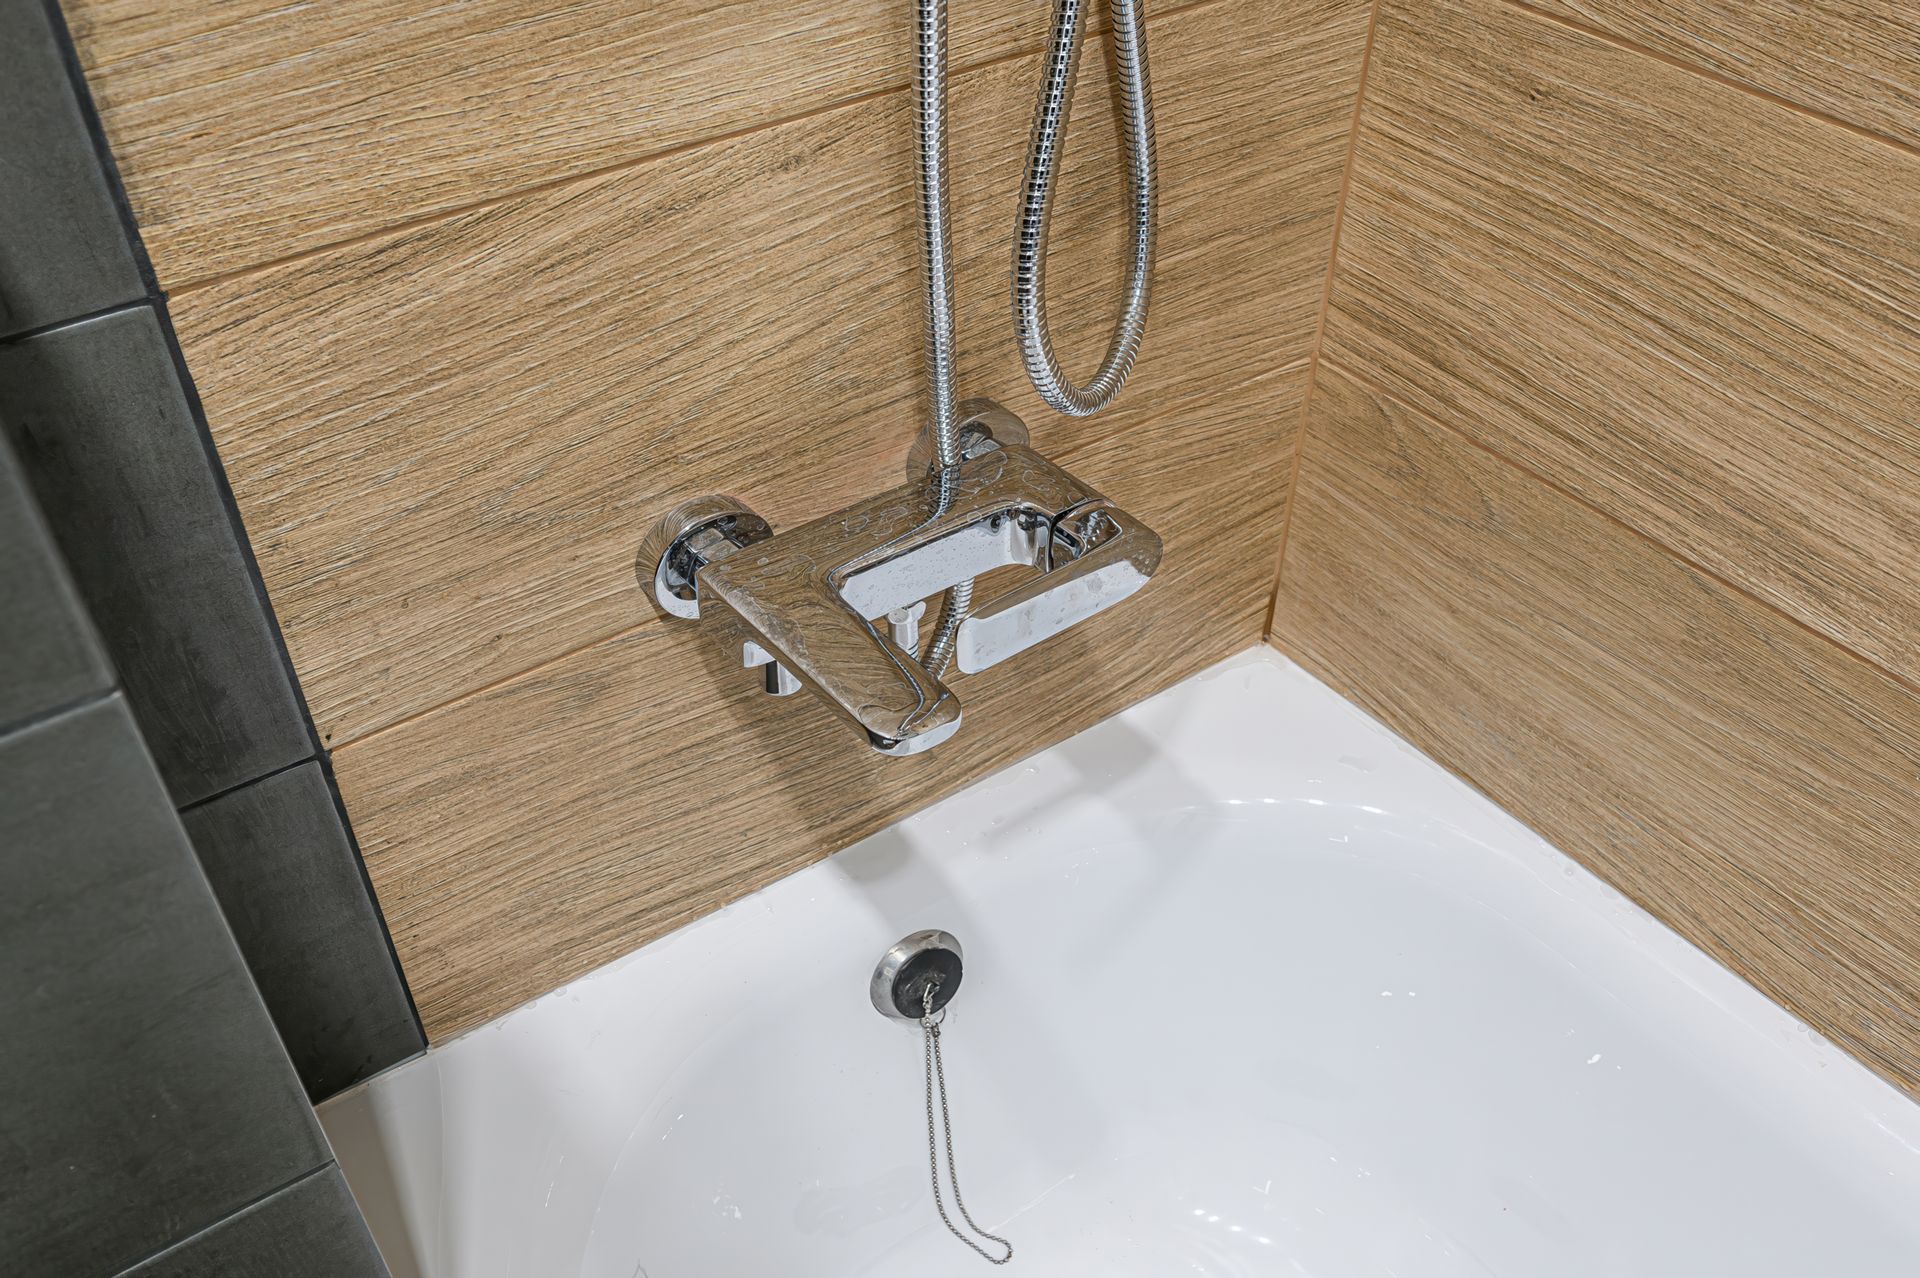
Removing the ruined cabinetry is only the first step in the repair process. The plumbing supply lines, shutoff valves, and drain pipes must be inspected by a qualified professional to locate the pinhole leak or failing gasket. We often find that old compression fittings have slowly vibrated loose over decades of water pressure changes.
A quick tip to remember:
→ Never install new drywall or backing until a plumber has pressure tested the system and verified that the leak is completely resolved.
Why Taping Over Bad Drywall Always Fails
Homeowners attempting a quick fix often try to patch over soft drywall or paint over the stains with a sealing primer. This is a massive mistake because gypsum board acts like a sponge, pulling moisture deep into the core where it continues to degrade the material and spread to the wooden wall studs. Taping over a compromised wall traps the moisture inside the cavity, accelerating the rot and creating a feeding ground for mold right next to where you prepare food.
Removing the damaged drywall back to the studs is the only way to guarantee a safe repair. It allows the framing to dry out completely and gives you a chance to inspect the sill plate for rot. Doing the job right the first time prevents thousands of dollars in future damage to your new kitchen investment.
Securing the Wall for Your New Kitchen
Fixing hidden damage properly sets the stage for a reliable installation. Once the framing is dry and the plumbing is secure, new moisture resistant drywall and proper blocking give your cabinets the strong anchor they need. Getting the wall structure right ensures your renovation looks great and lasts for decades. If you suspect an old leak is hiding behind your setup, it is always better to pull the cabinet and check rather than hoping for the best.